Warning: I am an amateur.
I have no professional background in photography or image editing.
I am a tech enthusiast and a software developer.
That being said, I do have over 14 years of experience with digital photography and about 5 years of experience with editing the RAW Files from my camera to either get more out of it or to stylize my images.
My go-to camera for the past 13 years has been the Panasonic Lumix G3.
https://en.wikipedia.org/wiki/Panasonic_Lumix_DMC-G3
Why?
It was the hand-me-down camera from my brother, who got the then-new Panasonic Lumix GH4 (the first Panasonic GH Camera with 4K Video capabilities).
Now, I could have gotten my own camera. But Free.99€ is a compelling price.
Last year, I bought the Panasonic Lumix G9 Mark 2. It has a lot more features. For about half a year now, I have also been shooting more analog photos.
Similar to how I got my first digital camera, I also got my first analog cameras for free.
On the internet (particularly YouTube and Reddit), I have seen more and more content pop up about a still rather strong analog community and the fact that Kodak is still producing film.
The Smarter Every Day series on how film is made and the Technology Connections Series on Analog Photography spurred my interest.
I remembered that my Mother had a Rollei and my Dad (with whom I share lenses with) still has his old cameras.
Asking him if he still had the old Rollei, he said yes.
Thus, I bought film at my local drug store (Kodak Gold 200).
My father insisted on showing me how to insert the film (which he did wrong, and from the 36 shots, only 6 were exposed, and then the film slipped internally).
At this point, I did not care about scanning the images.
What I cared about was the process of analog photography.
Since the Rollei B35 is not an uncommon camera, I searched for the manual online, and the second roll of film was a complete success.
All images were, within the limits of the general sharpness of the slightly cheaper lens, sharp and correctly exposed.
Mind you, I am no stranger to complete manual photography. I use old lenses with adapters on my digital camera all the time. Since the Micro Four Thirds standard has a smaller sensor size than Full Frame, you can use basically any Full Frame lens.
The Rollei 35 Cameras are viewfinder cameras. This is fine, but I wanted to use the full range of lenses I already have and hear the intoxicating sound of an SLR Camera.
My Father has two Minolta Cameras. The x500 and the SRT-303b.
Going out and about with other film stocks and these SLRs, I started to frame and gift the images to my friends.
About three months in, and with about 5 rolls developed, I asked my dad if he had a scanner. He said yes, but it is a rather cheap one.
After scanning the images, I noticed that they were all deeply scratched. Like horizontal, deep scratches.

It turns out that the Lab I had been using up until this point is actually scratching the negatives really hard. But before I realized this, I had to conduct some A/B testing to eliminate all the variables.
Scanned negatives show the same scratches across:
The two variables left were: Choose a different Lab and choose a different scanner.
I first bought a different scanner (plustek OpticFilm 8200i) which was recommended by various sources.
After those images still showed the same deep scratches, I chose a different lab.
I did notify the lab about quality issues, but their customer support was incredibly unhelpful.
The other lab where I develop my pictures is way more expensive, but the images are developed on the same day and the negatives are not scratched.
The plustek scanner (bundled with Silver Fast 9 Software) has some great features.
One thing the plustek is missing is a white balance and tint correction feature. Thus, I usually go into Affinity Photo and edit White Balance, Tint, Dust & Scratch Removal and Denoising.
One thing I wondered was: I can get 16-bit TIFFs which are just the "RAW" image data from the scanner.
Can I get a better result from:
Online, I found that most people who do not use the software of their scanner use a Light Room Classic Plugin.
I don't have Light Room Classic, and I don't want to get it just to try a paid plugin.
Searching more online, I found https://www.filmlabapp.com/ They offer a free usage period and an app to quickly develop photos.
So I conducted my unscientific test, and here are the results:
The Image was shot on Kodak Gold 200.
First, for the control, I used the advanced editing workflow of the plustek scanner with film stock correction, multi-exposure scanning, and Infrared dust removal at 3600 DPI, which is more than enough resolution for 200 ISO Film.
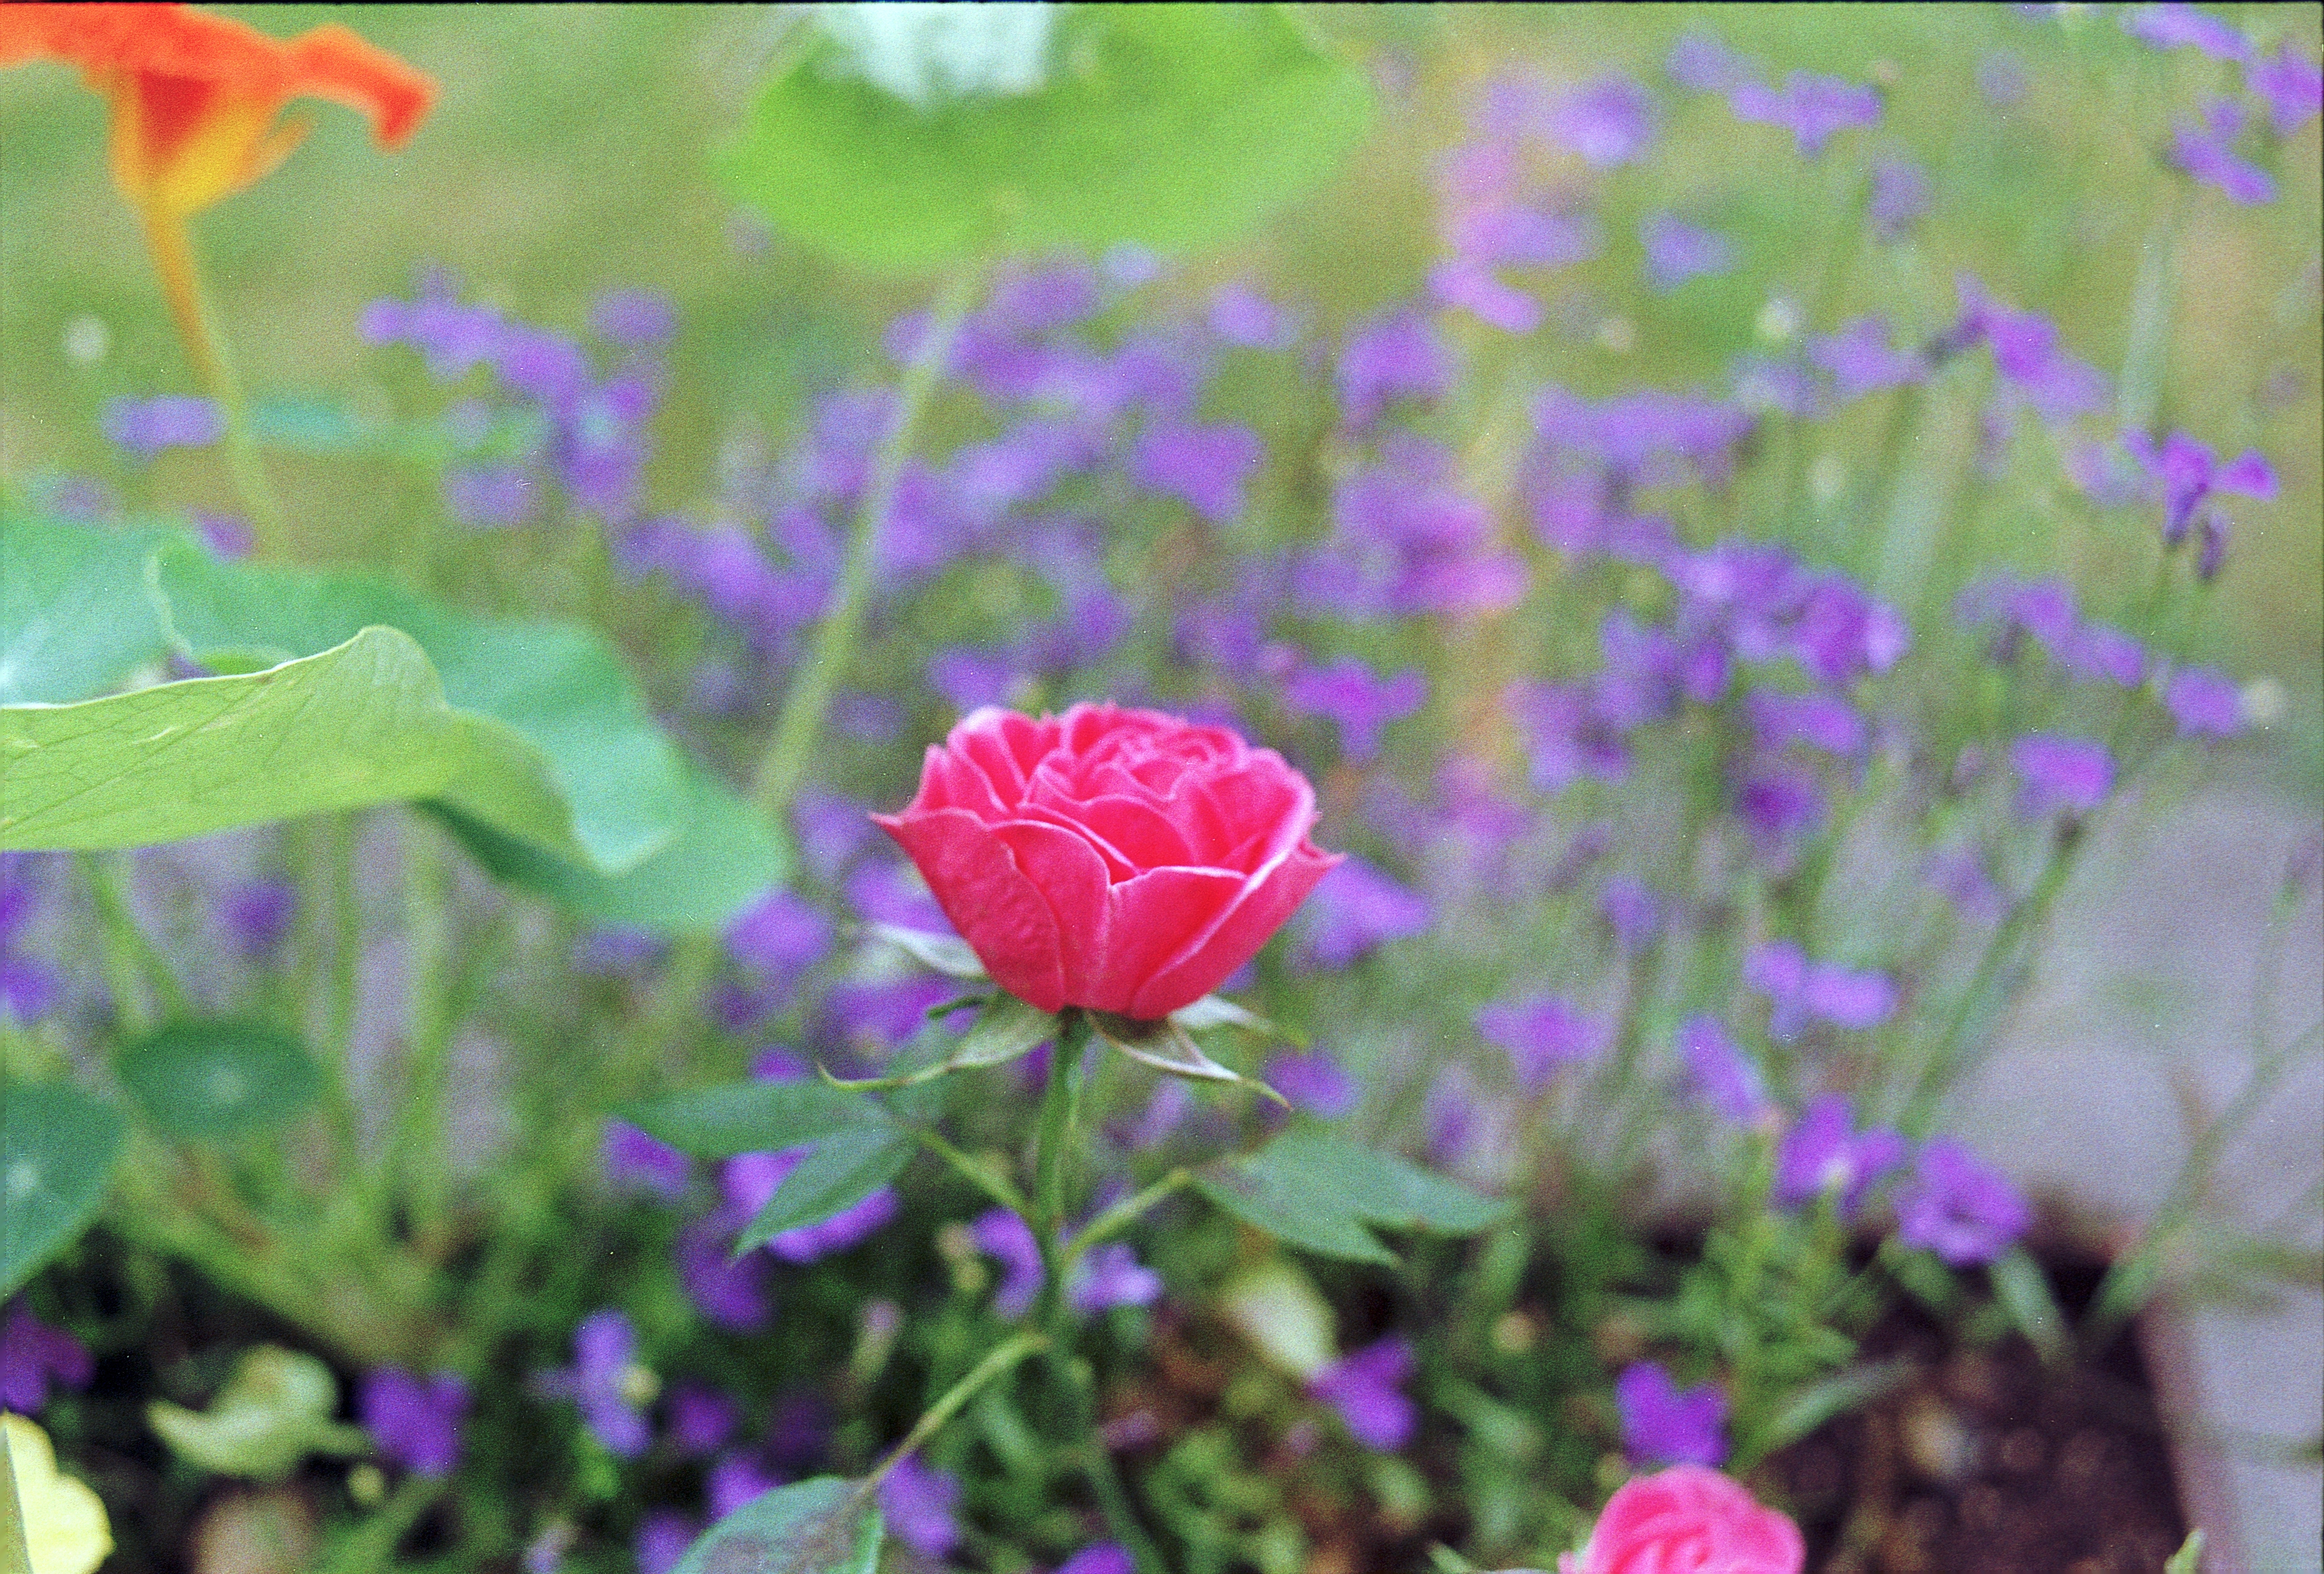 The colors are accurate for the scene; there is a bit of grain and dust.
I would usually follow this up with some fixes in affinity photo.
Next, I used the HDRi (16-bit TIFF Image, 3600 DPI, Multi Exposure, Infrared Dust Removal) and HDR (16-bit TIFF Image, 3600 DPI, Multi Exposure) Images and imported them into the Filmlab App with the correct settings and auto-enhancements.
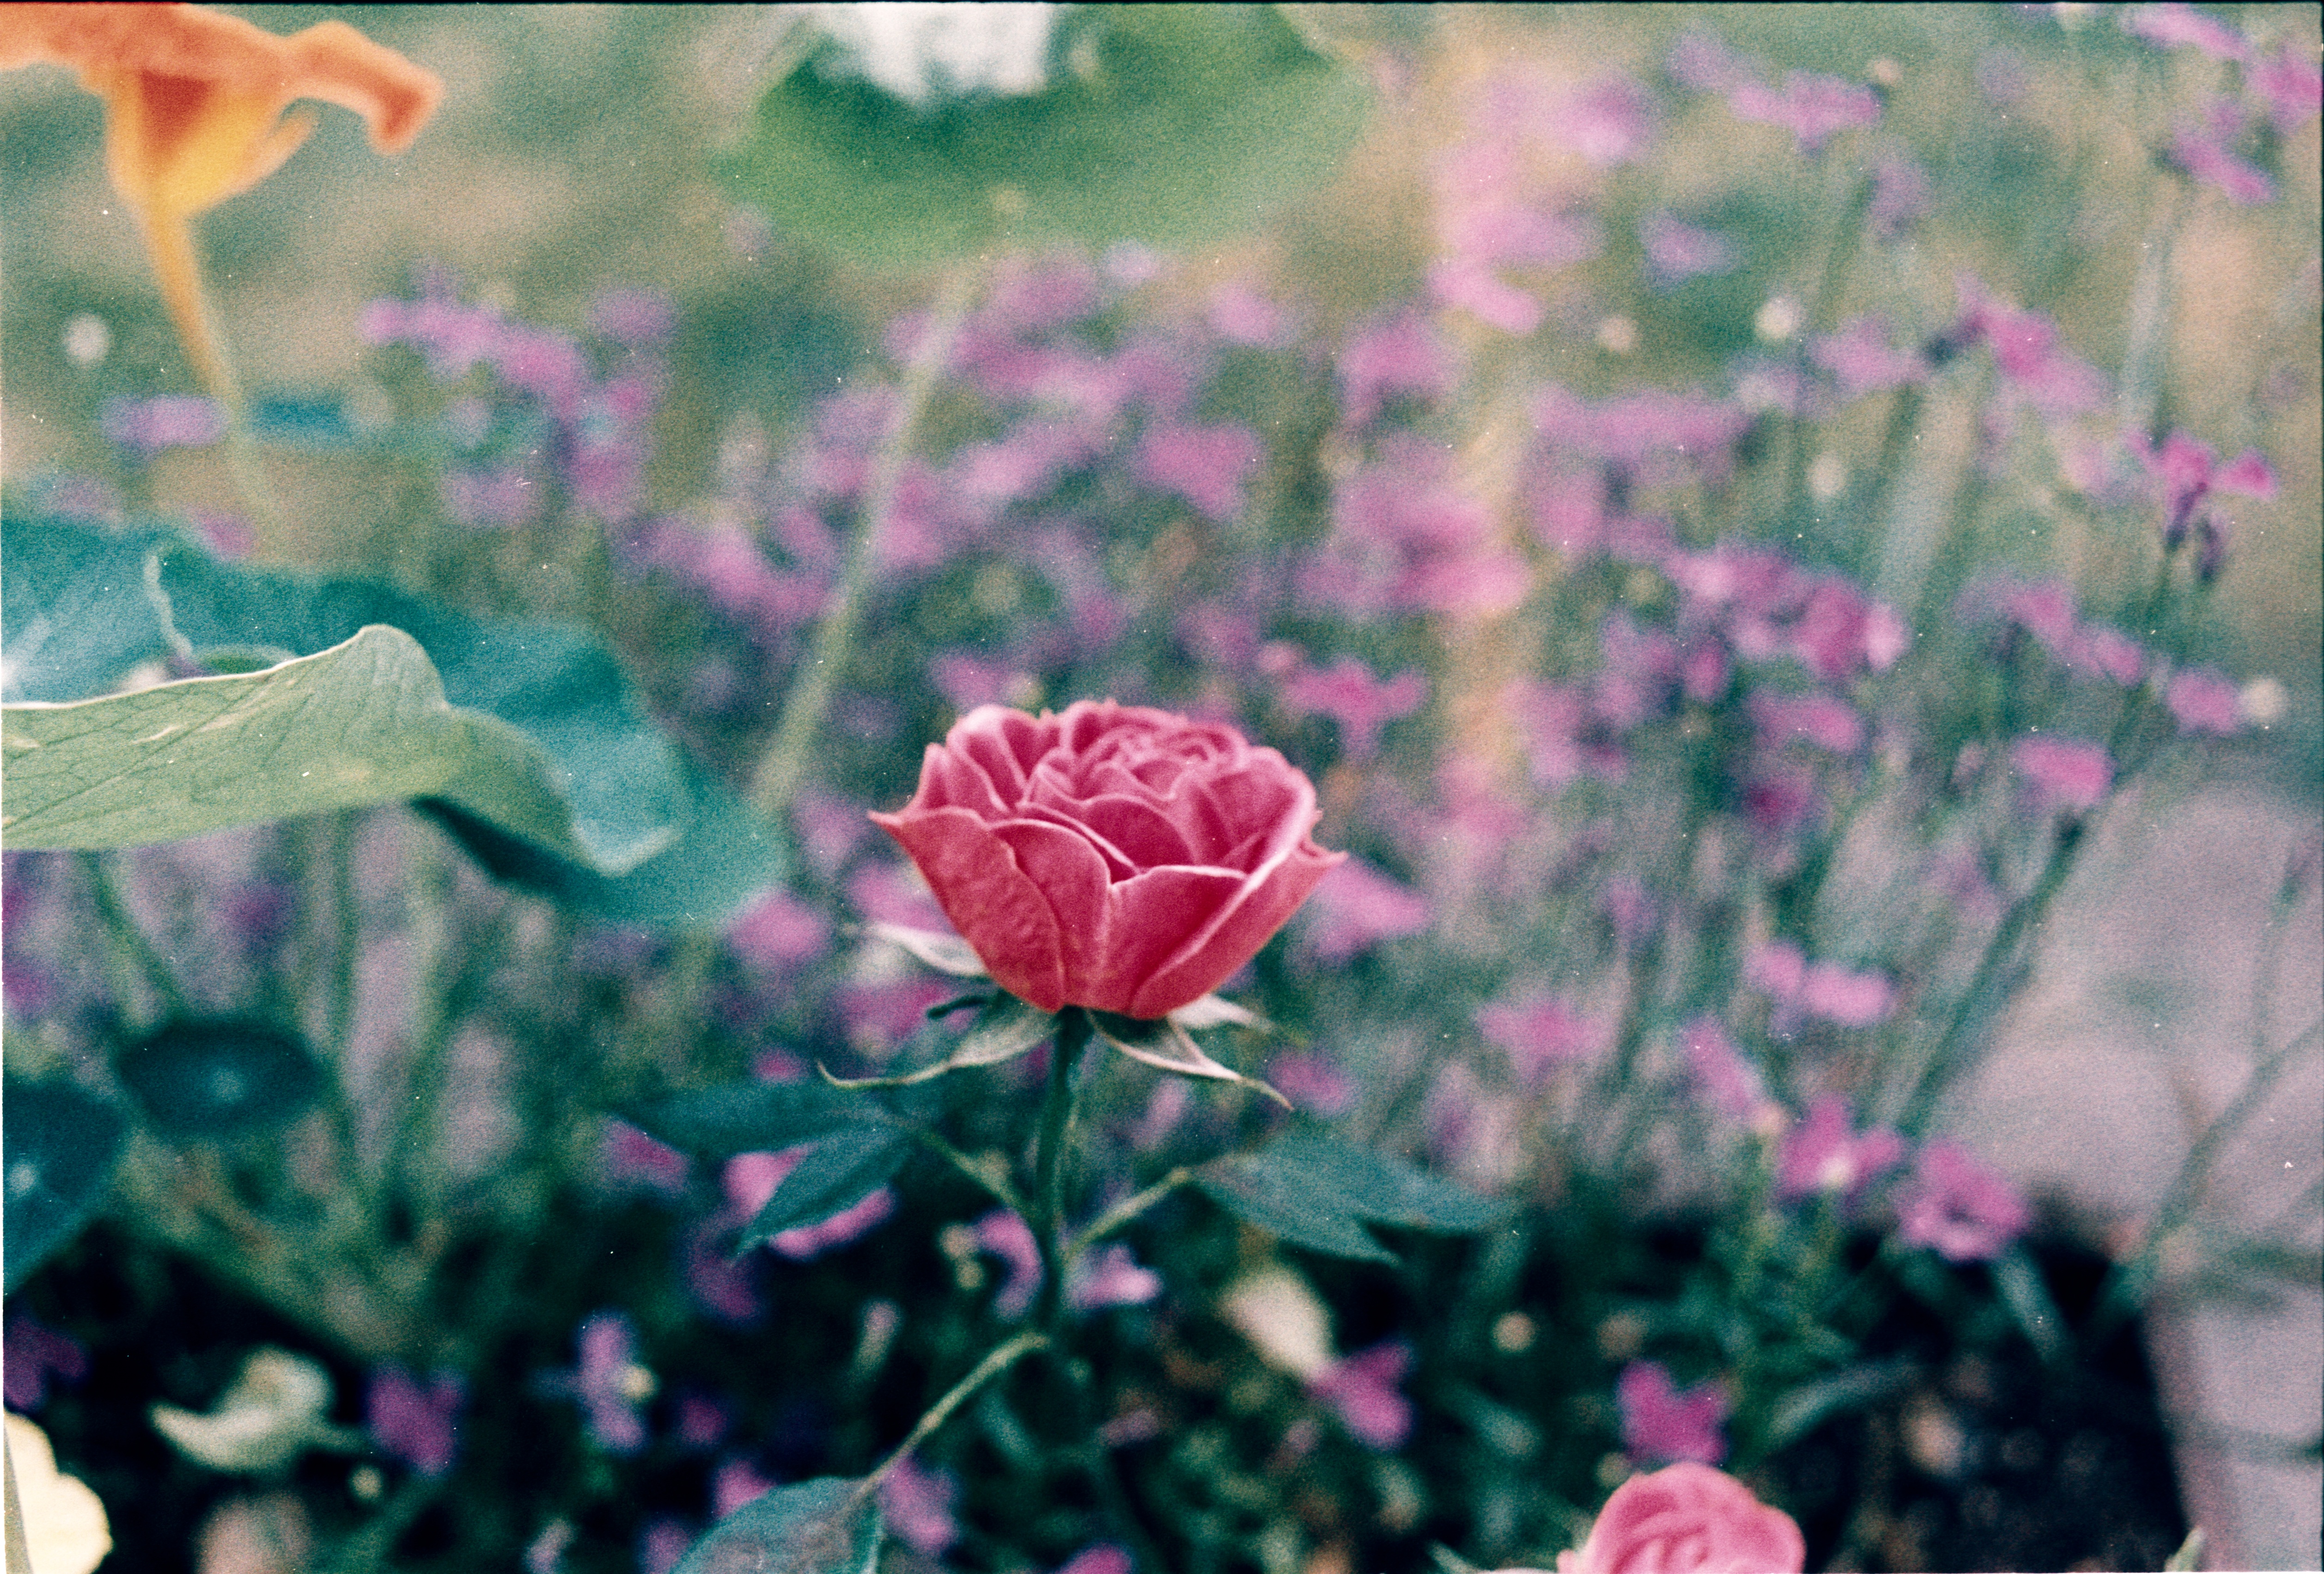 | 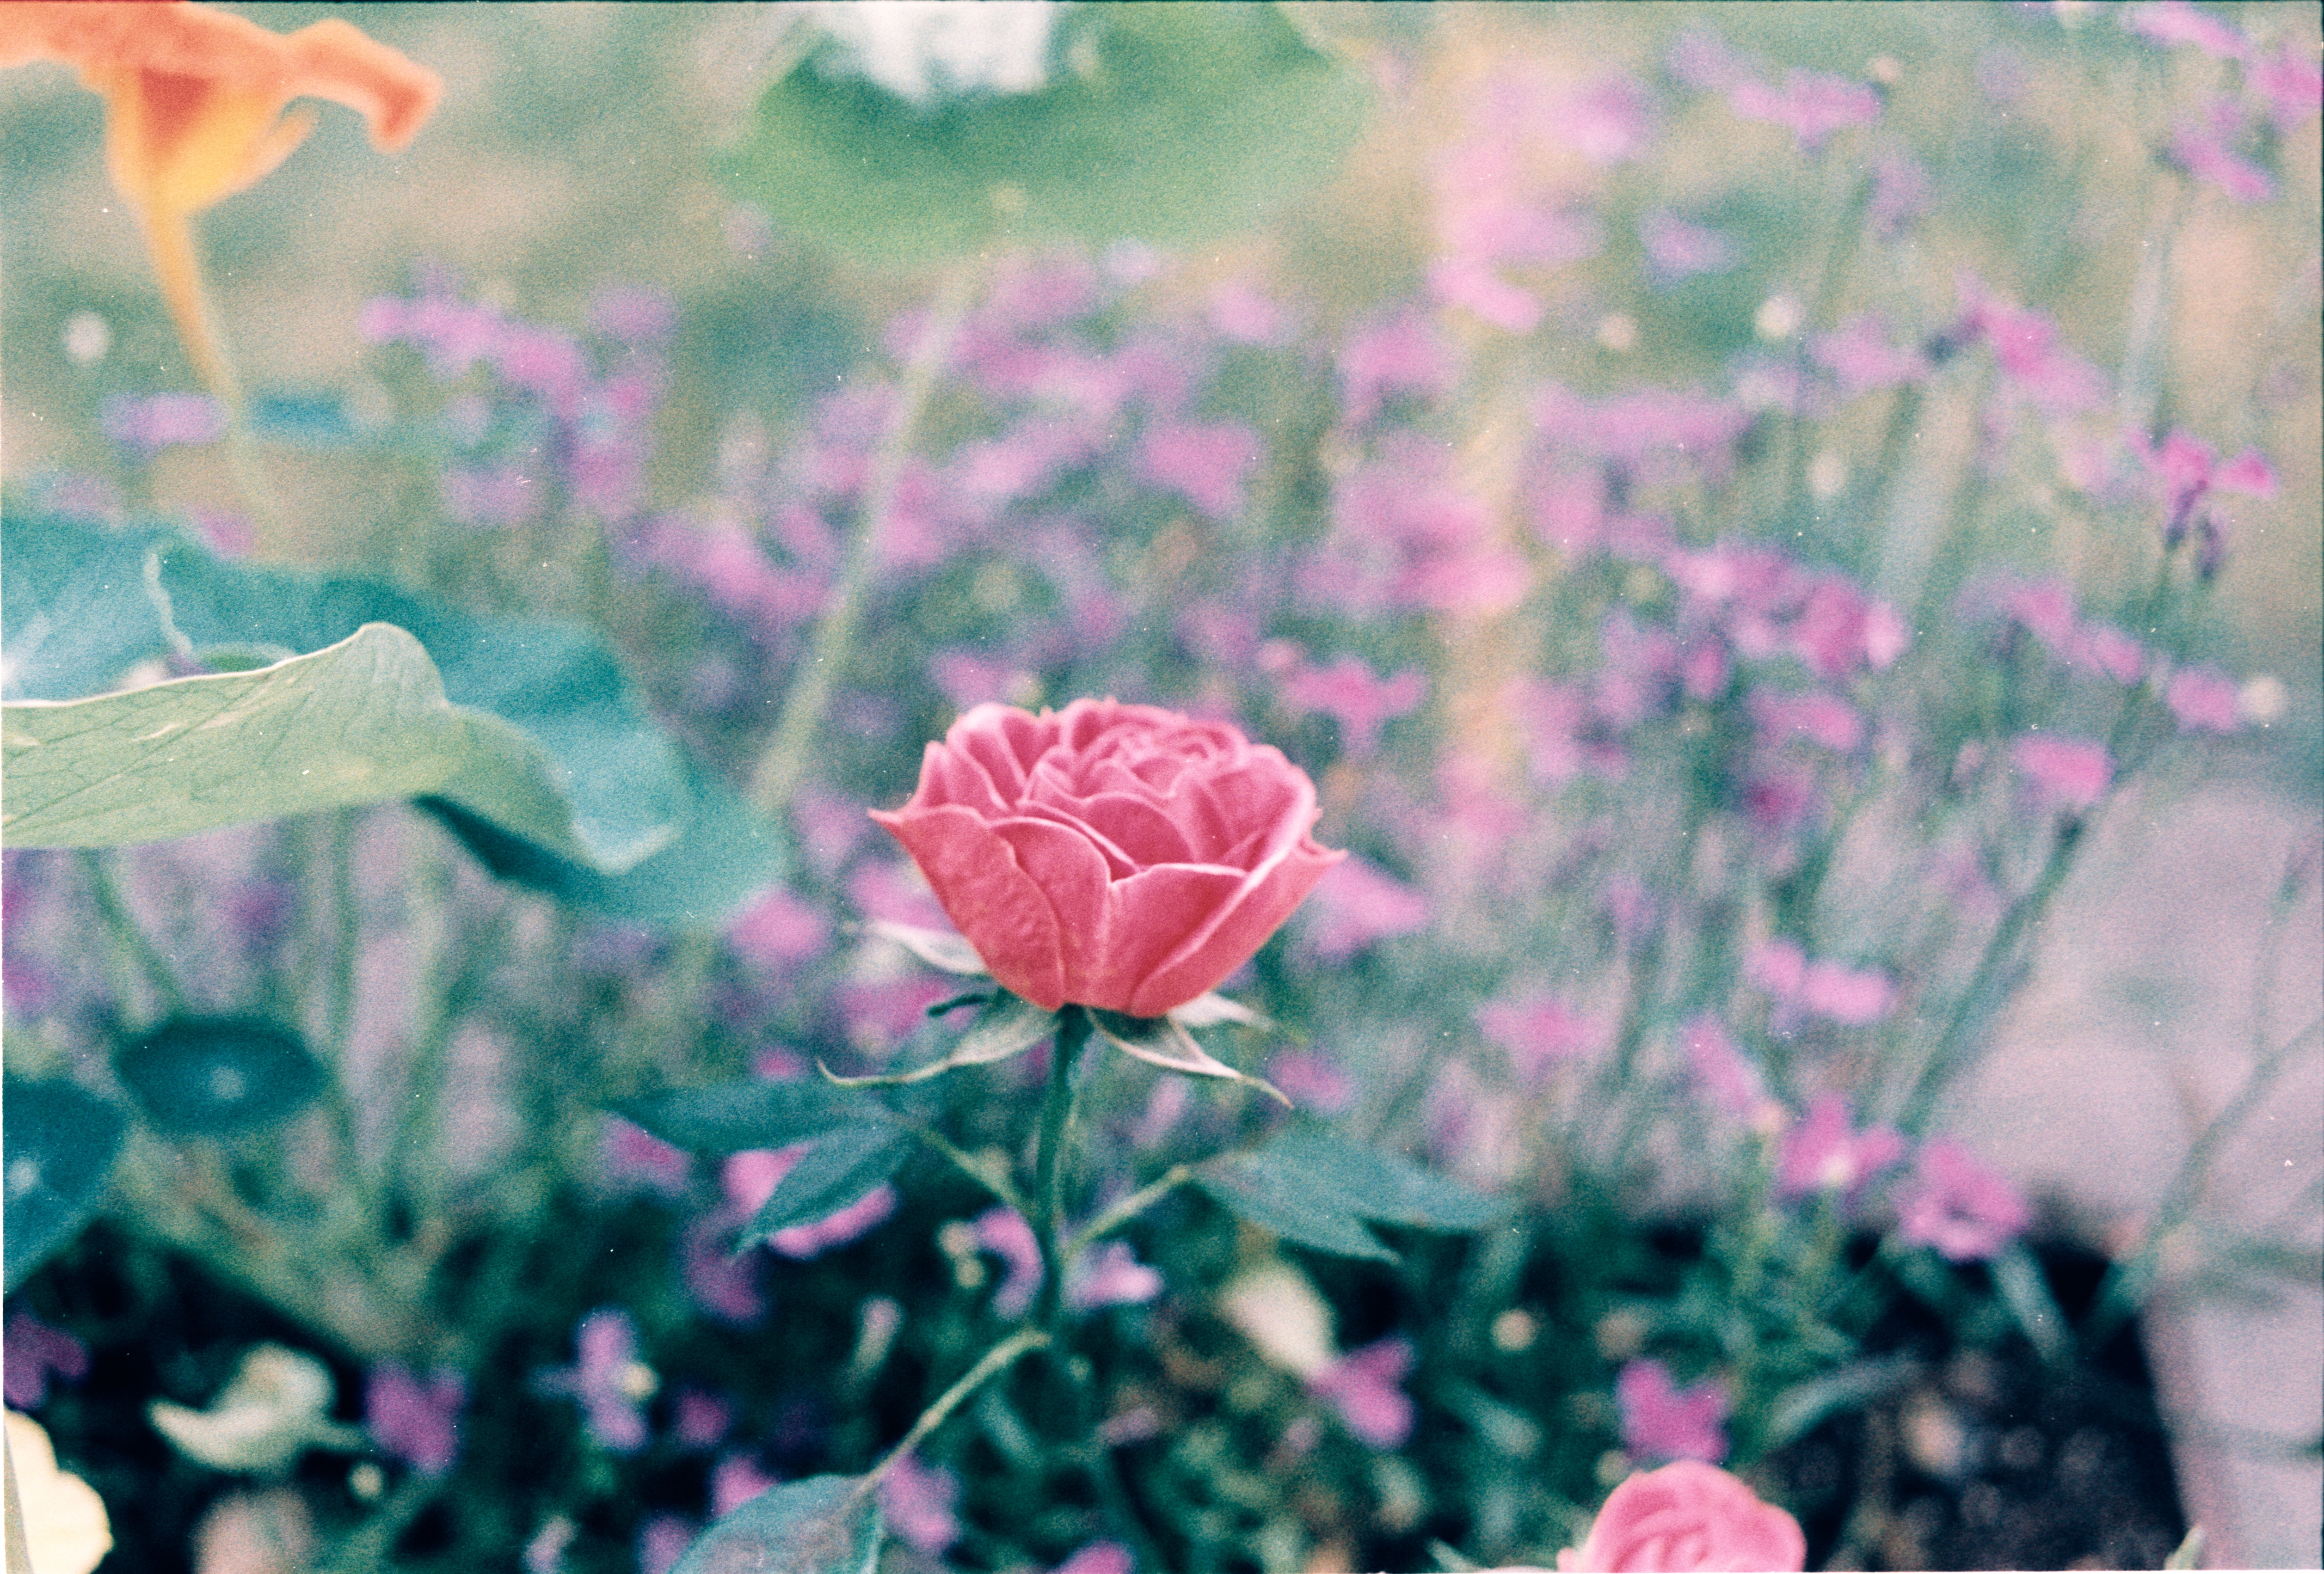 |
This Time, the Software did apply a white balance correction and a few other enhancements, like noise reduction (minimal).
However, the images are not really better than the stock software from the scanner.
I also followed this guide: https://forum.affinity.serif.com/index.php?/topic/188767-processing-color-negatives-using-affinity-photo/
By Ldina on Affinity Forum
As a source, I used the same HDRi (16-bit TIFF Image, 3600 DPI, Multi Exposure, Infrared Dust Removal) Image Source.
The result:
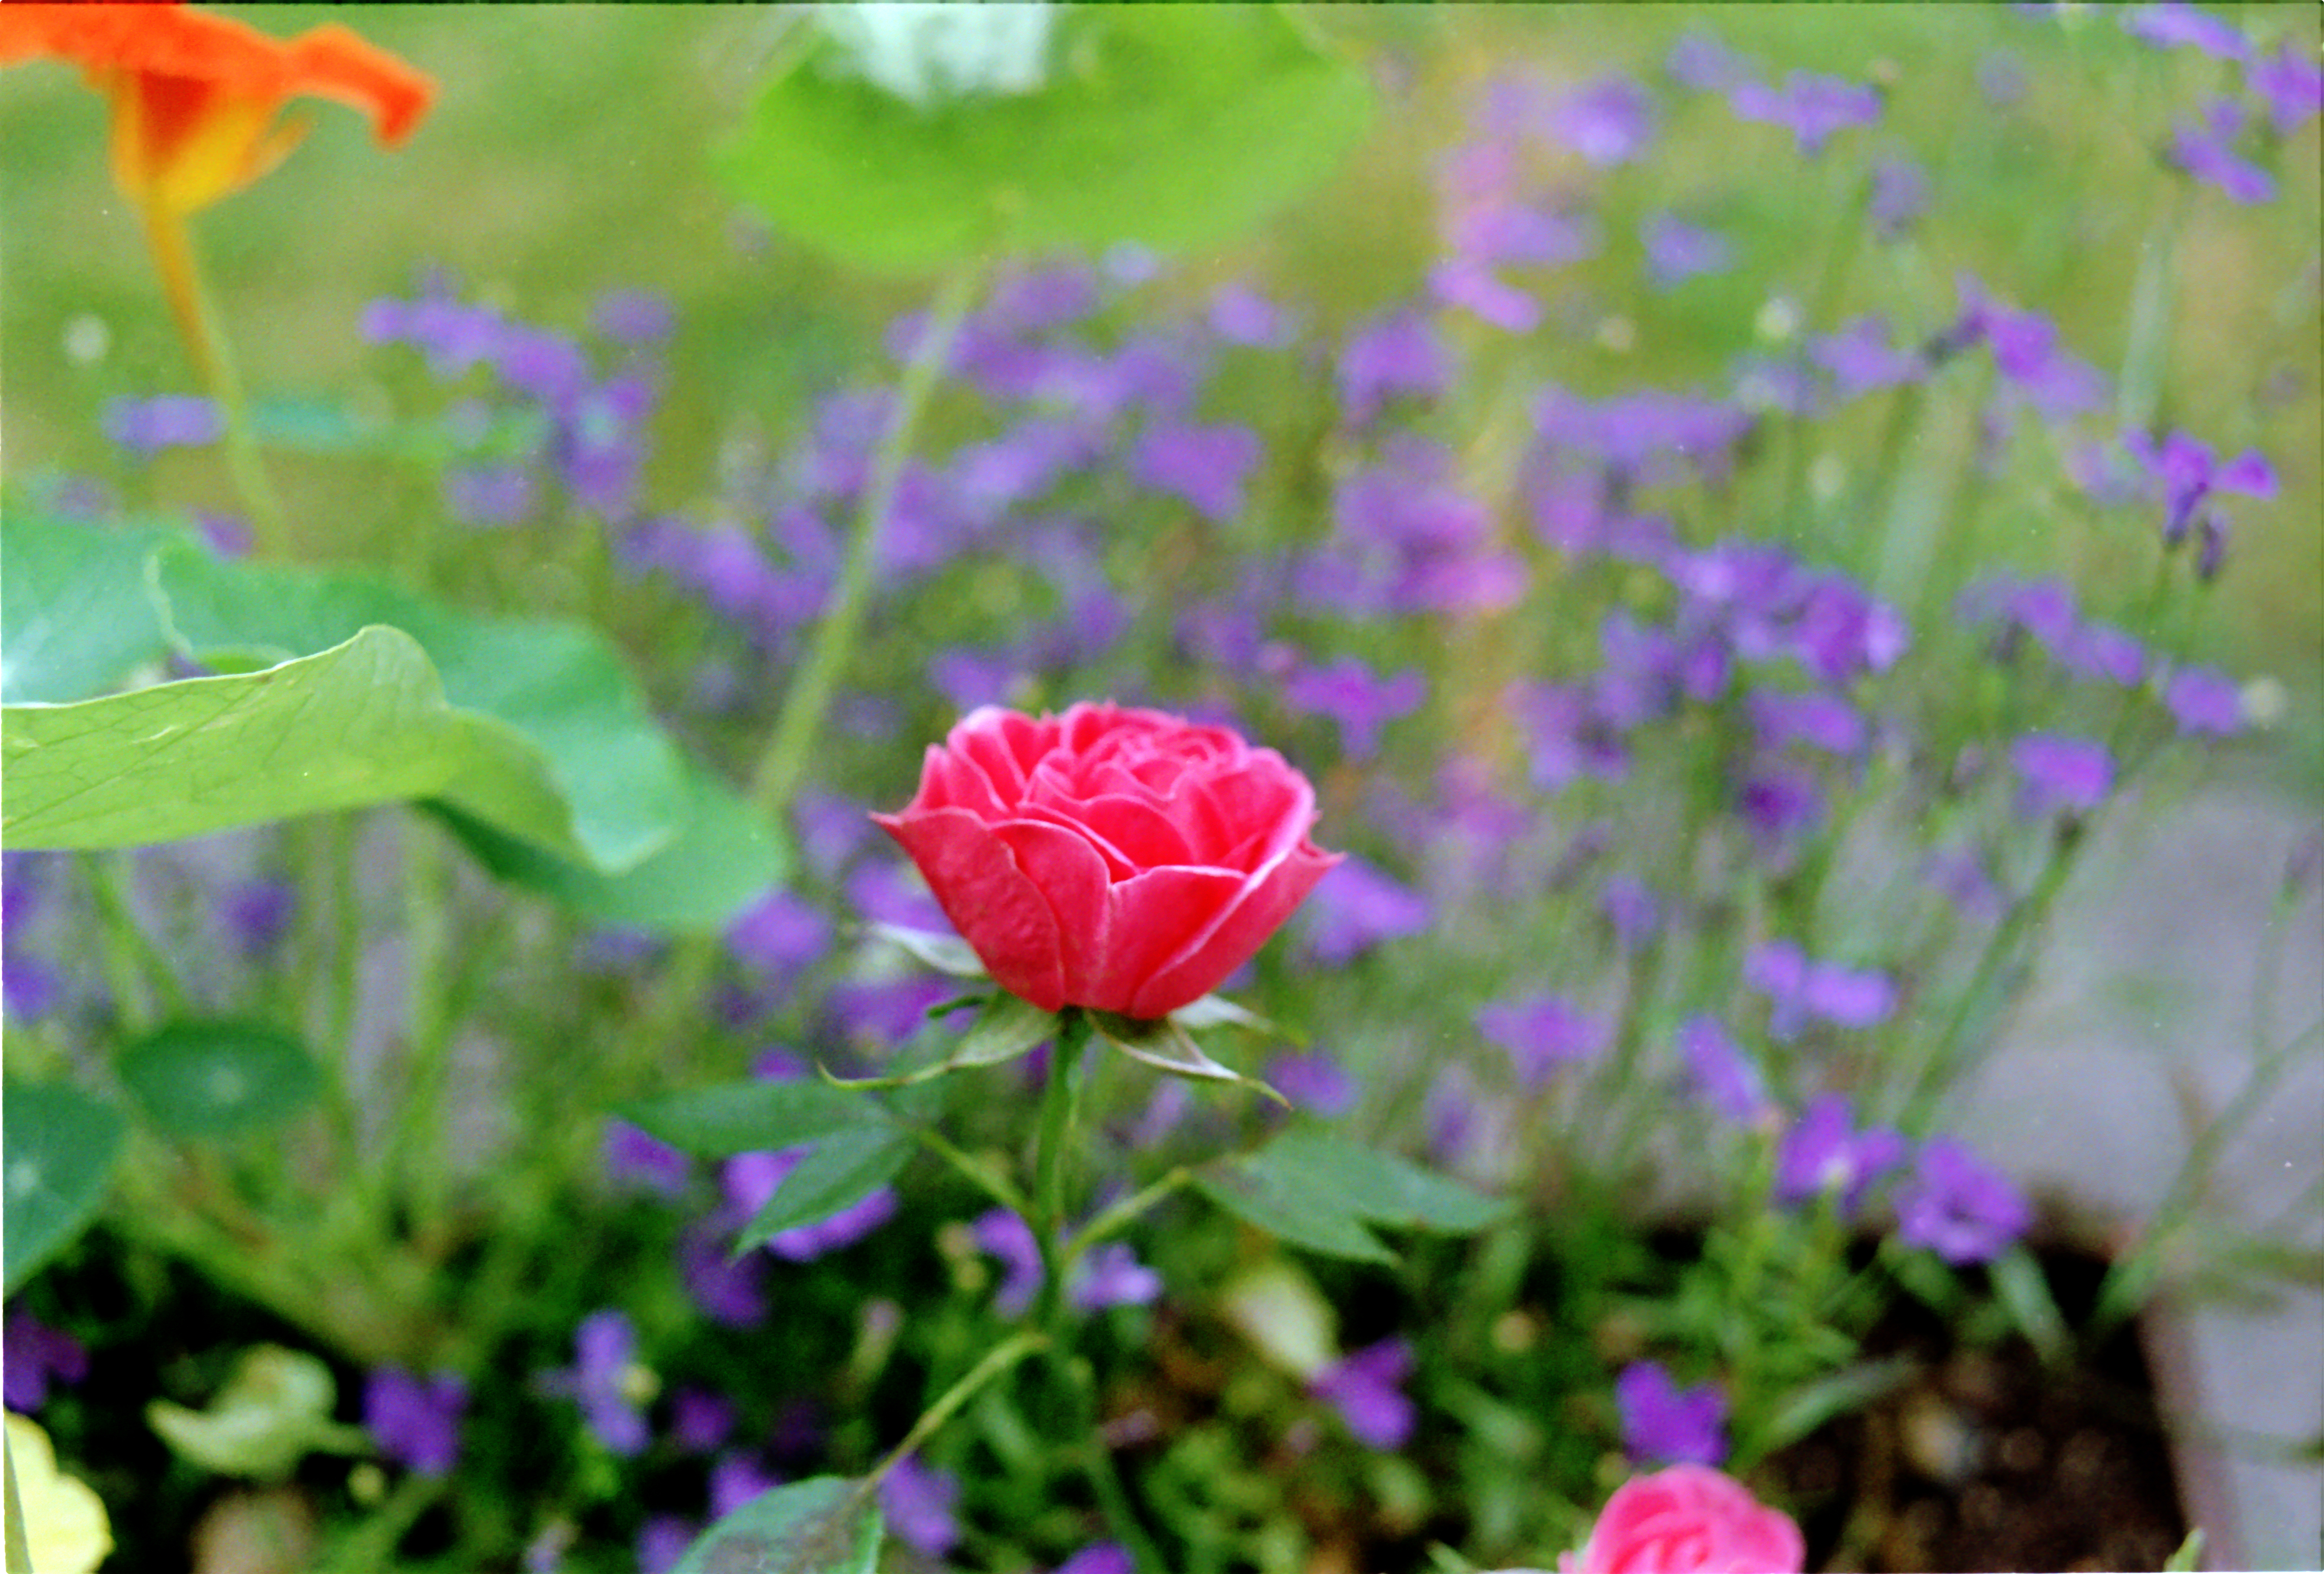
It was a lot more work, which is quite close to the plustek Silver Fast 9 Image
I also used the Smartphone App from filmlab on an iPhone 14 Pro.
I don't have a great uniform diffuse light source, though. So I used my iPad Pro 11" with a white screen!
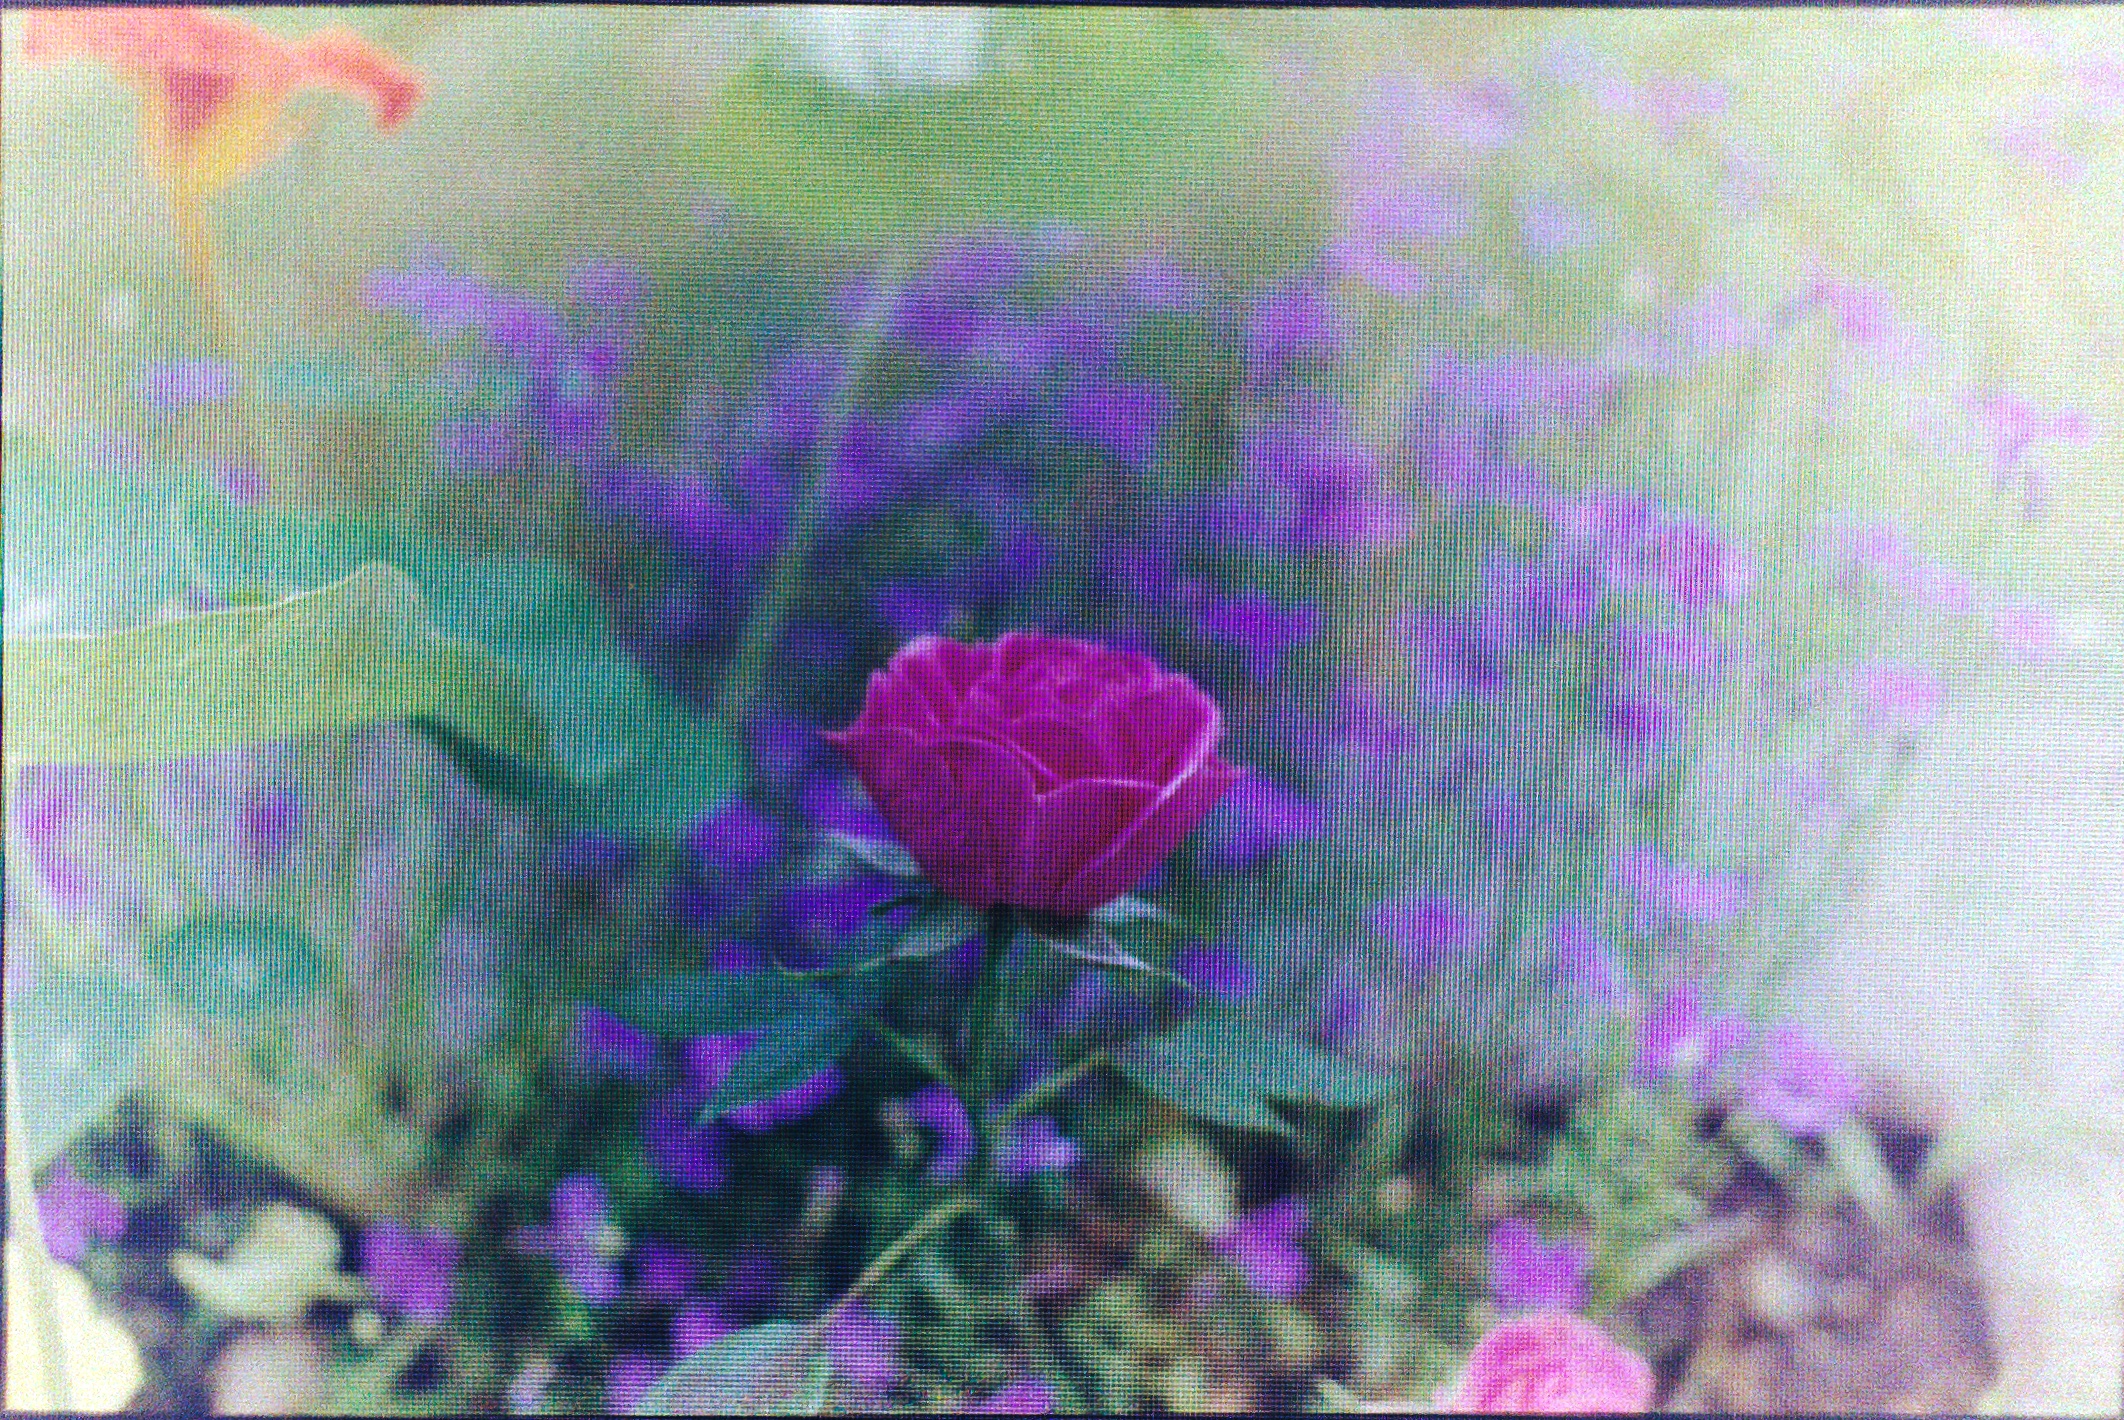 | 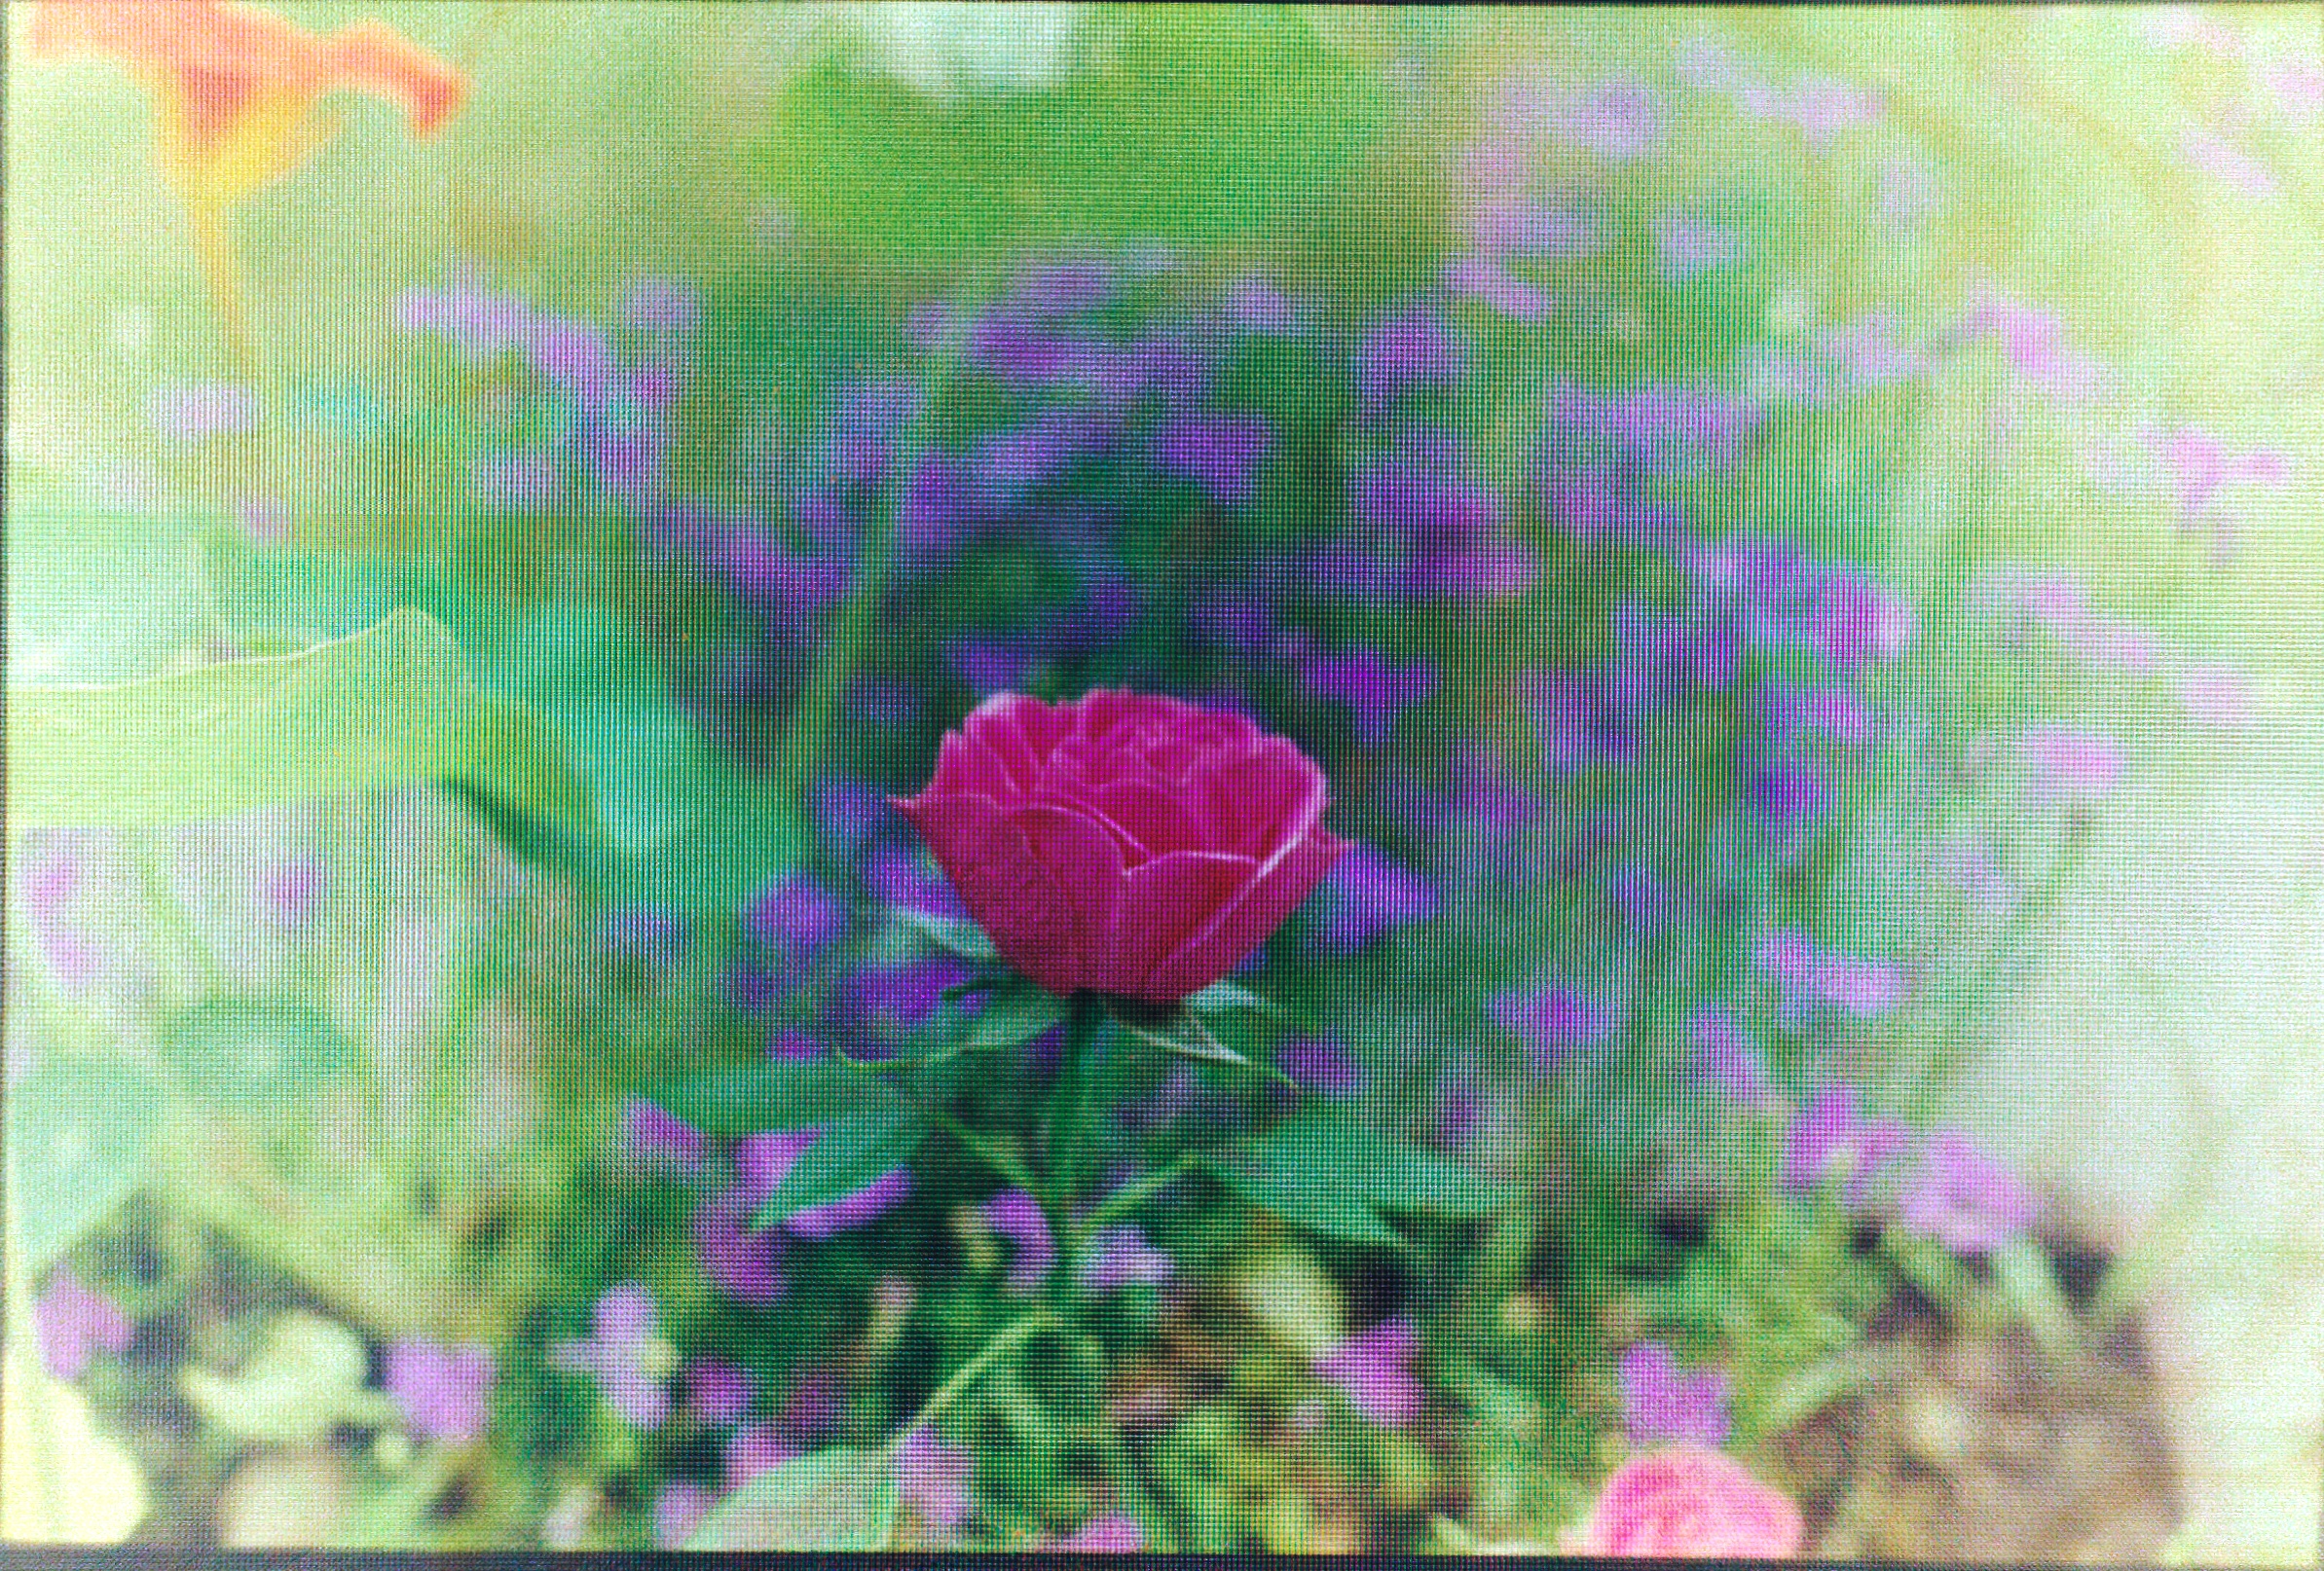 |
This does not represent the overall capabilities of the app. But I figured for just a quick preview, this would suffice.
Well, it does not!
You can clearly see the pixels on the iPad screen.
Similarly, I tried to photograph the negative with my digital camera:
Once with my iPad as my backlight and developed through Filmlab on Mac:
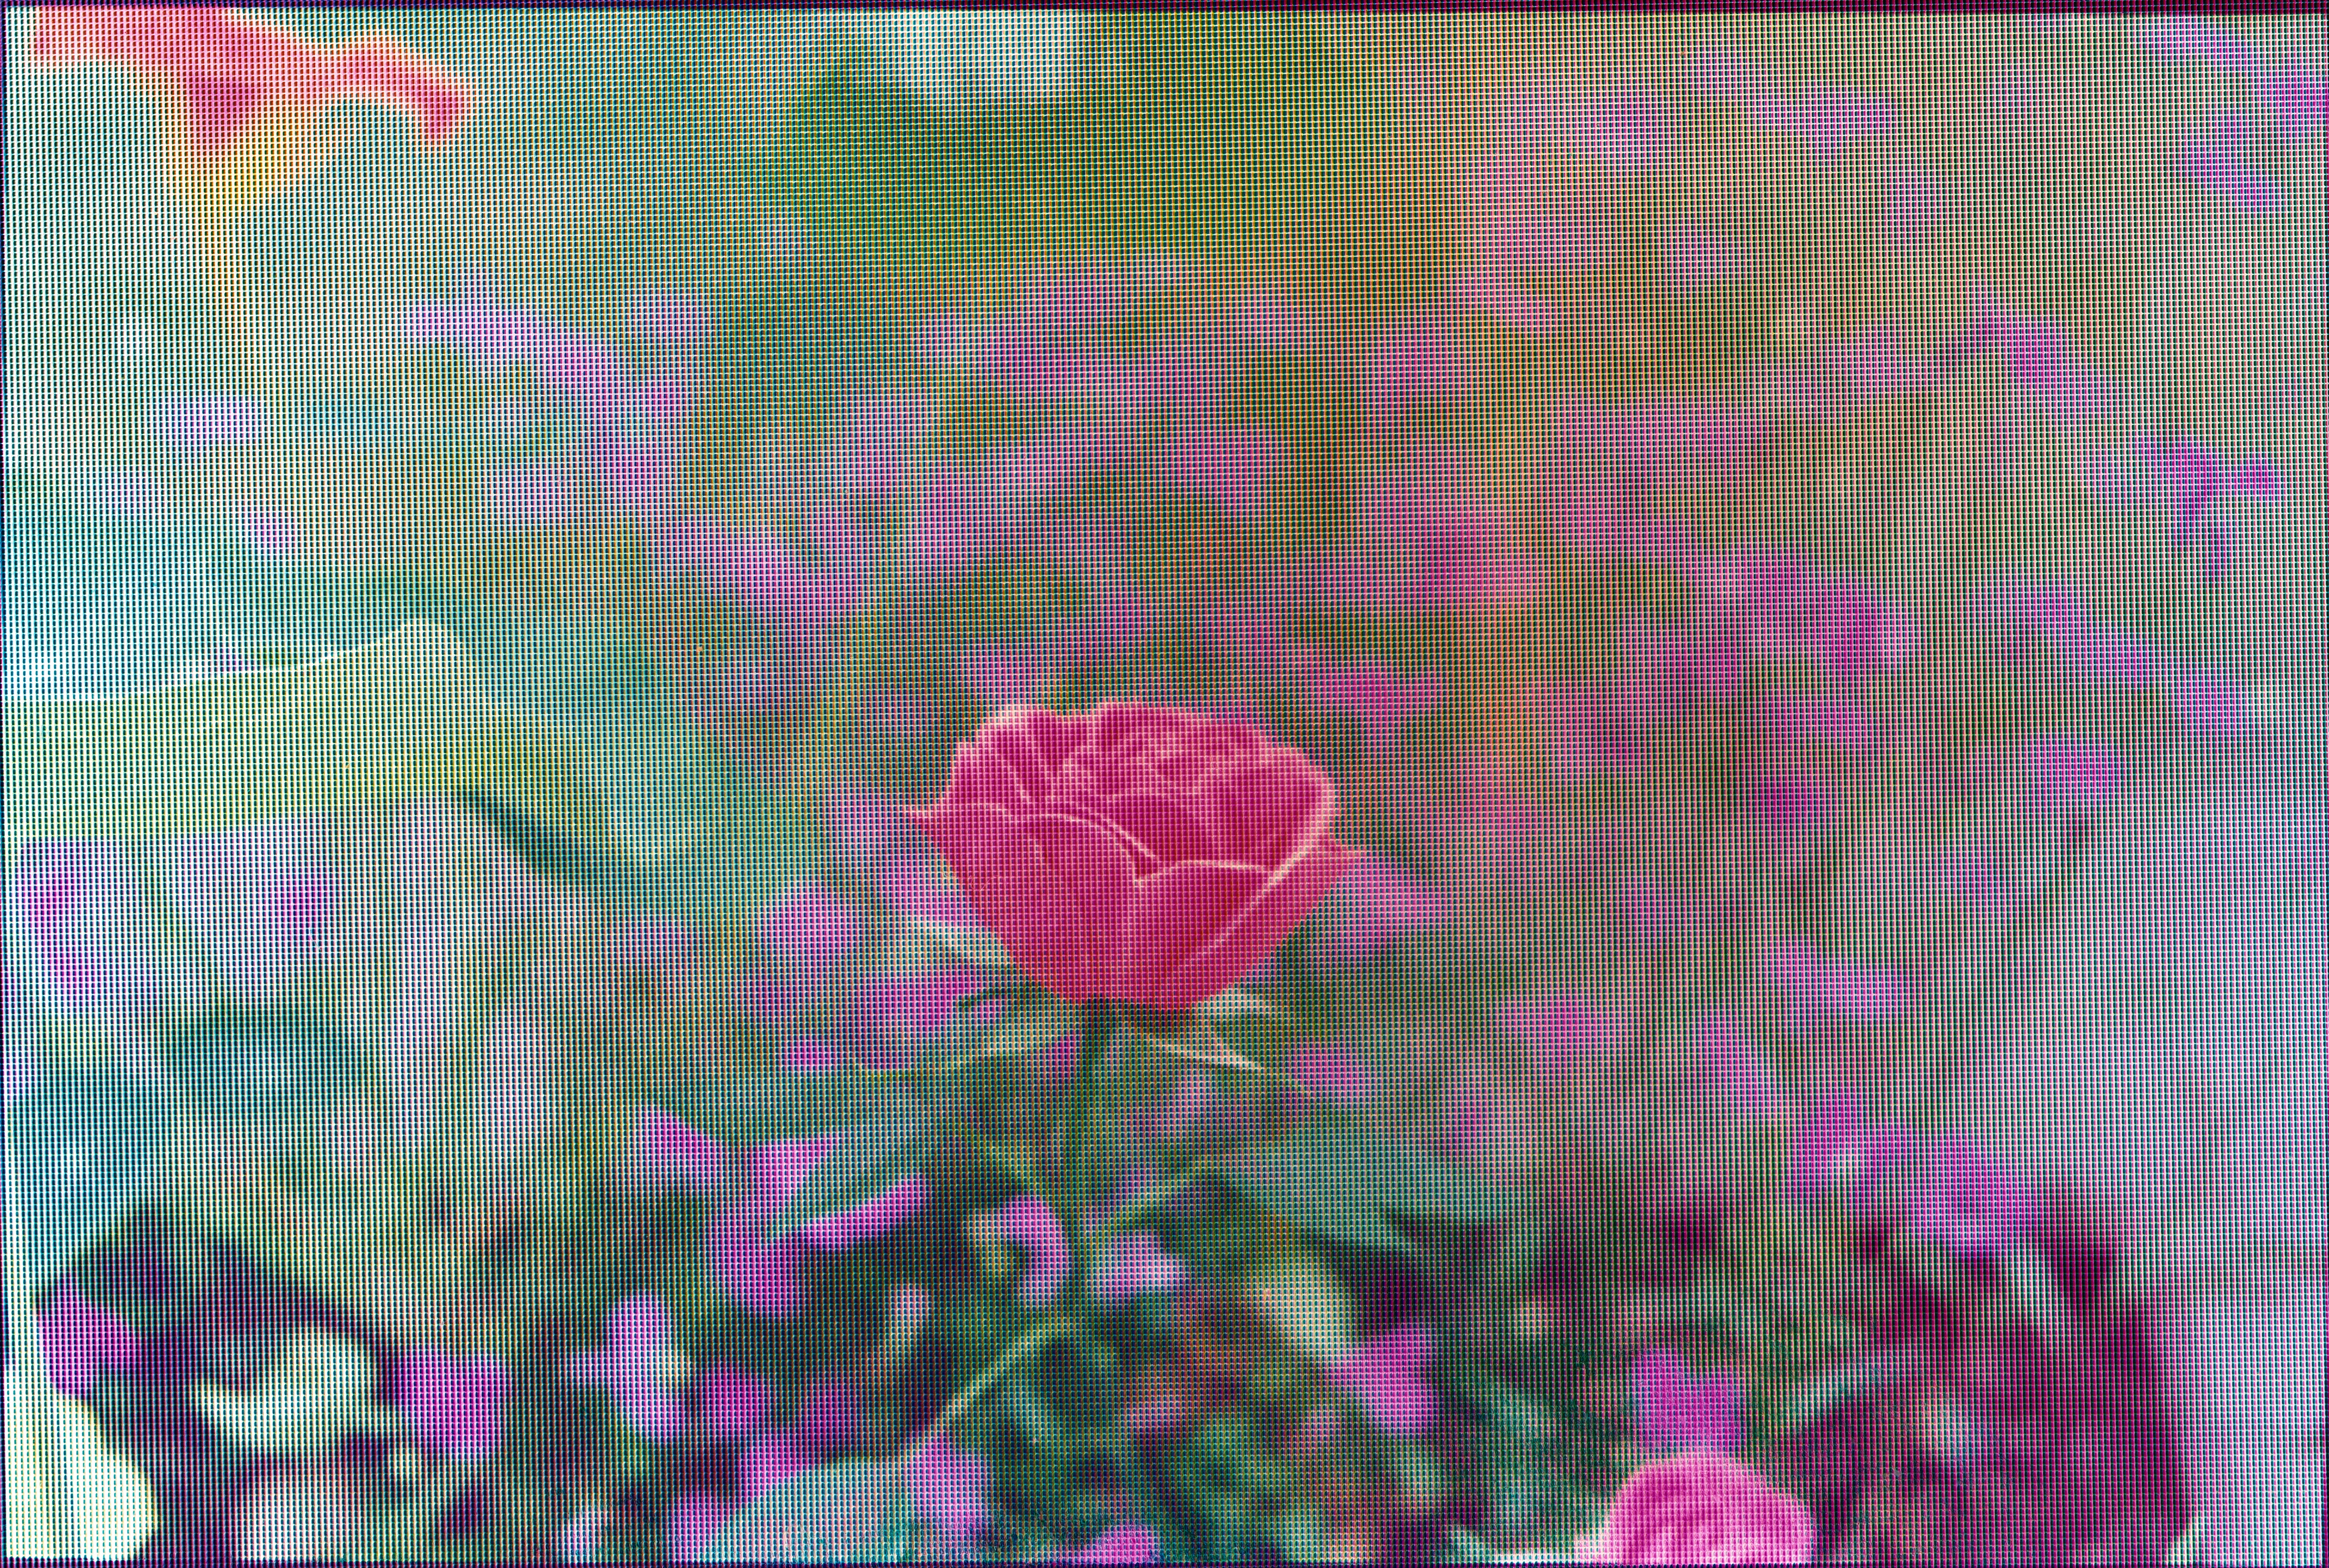
And with my iPhone 14 Pro as my backlight:
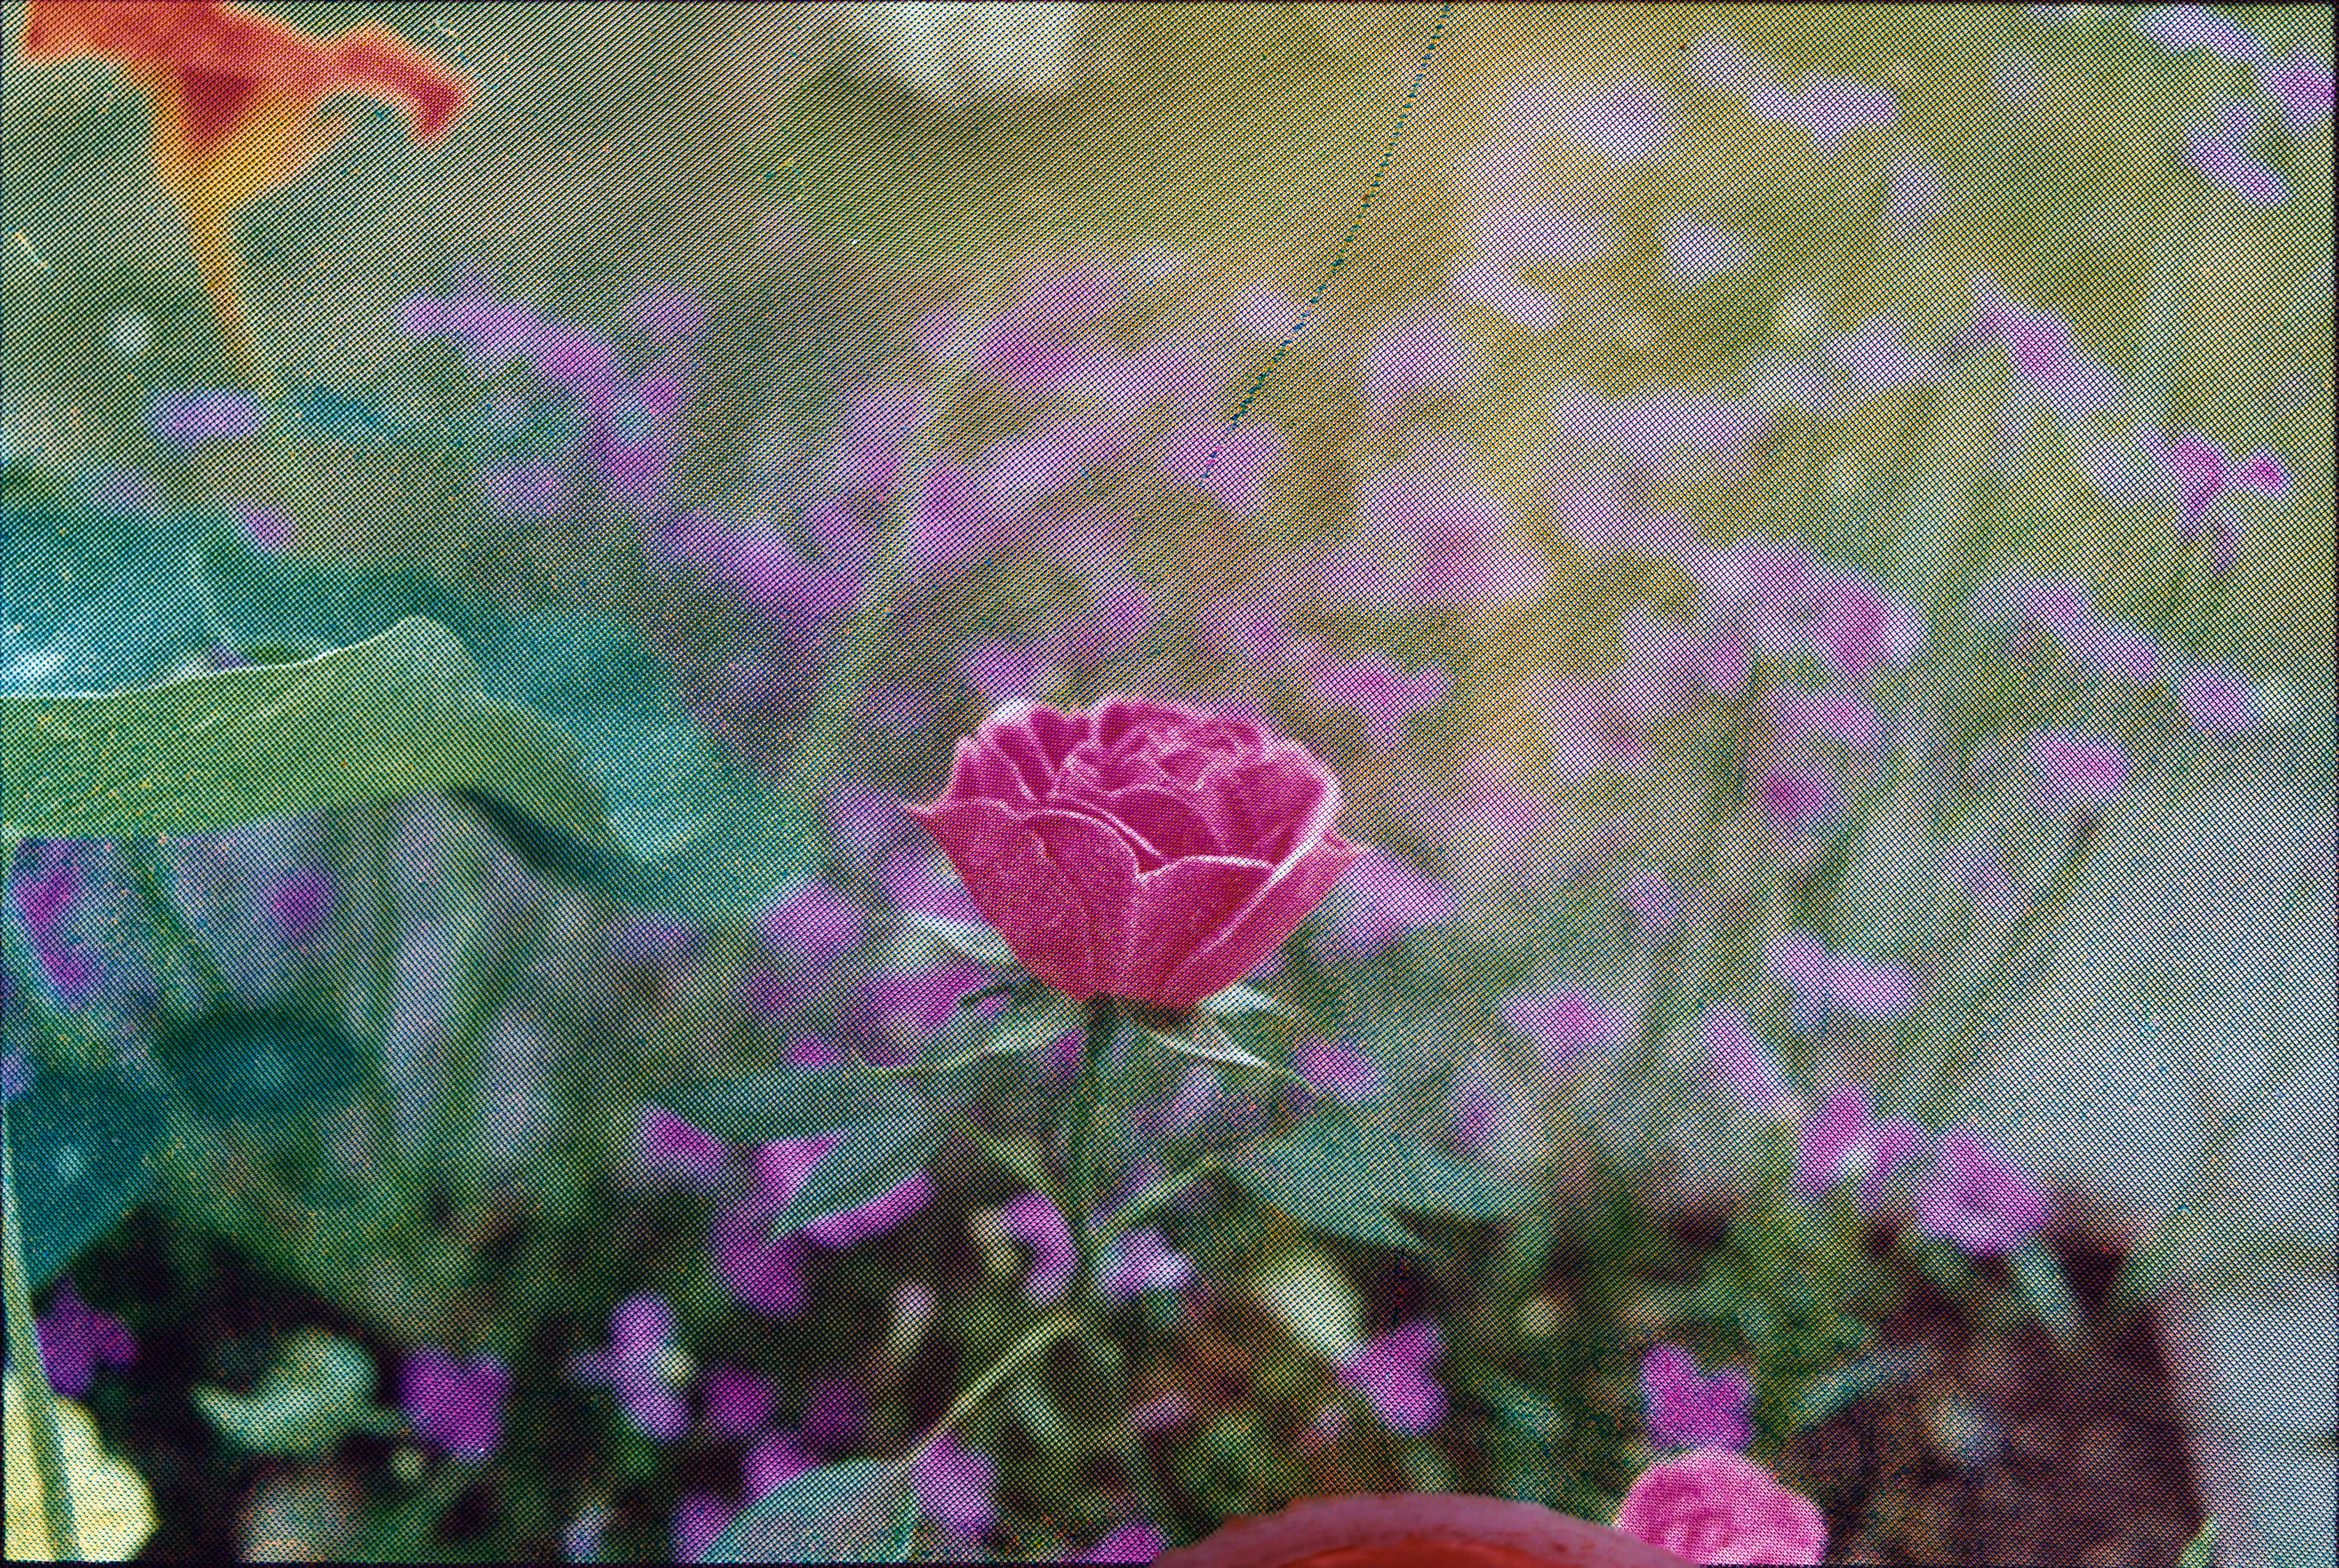
I need a better diffuse light source.
Until now, using Silver Fast 9 felt quite limiting, but trying out other techniques showed me that my two-step process:
is actually enough for me.
I might experiment more with the RAW Files, but each file is about 150 MB at 3600 DPI.
Created on: August 9, 2024 10:12 AM
Last Updated: a year ago